How to Take Sharp Landscape Photos
15th March 2017
After reading this, your landscape images will never look the same again..

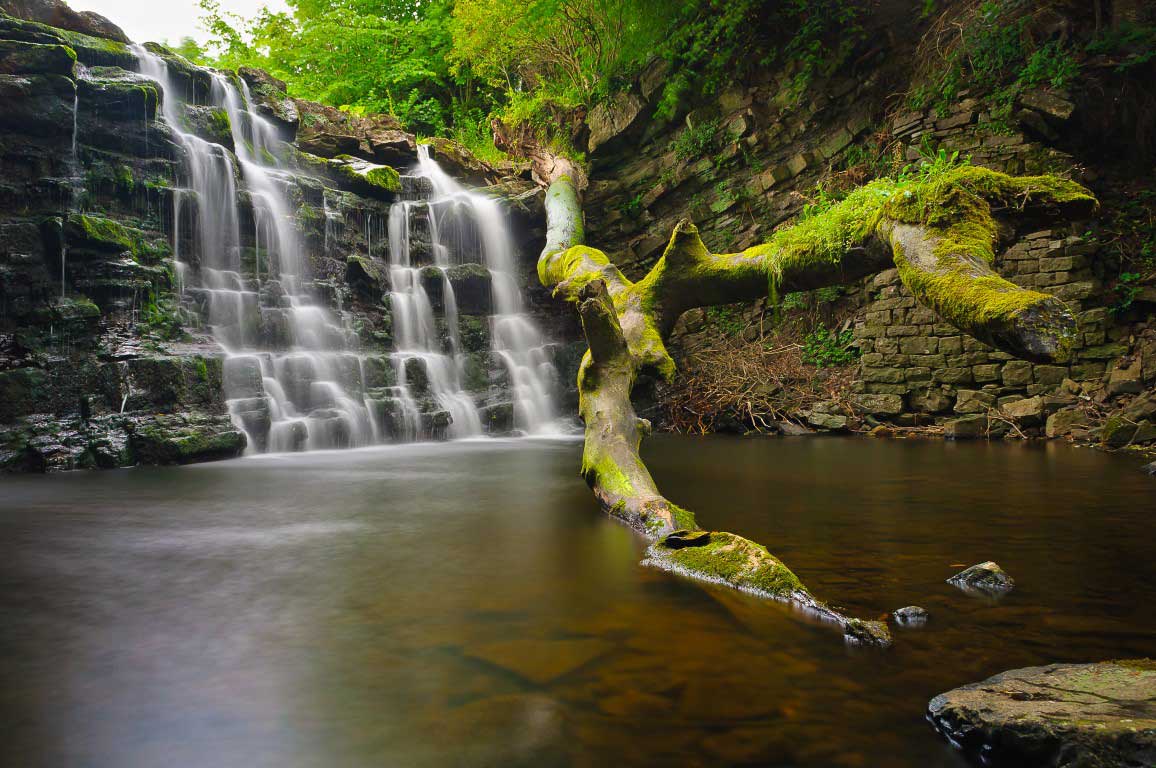
Technique 1: Focus 1/3 into the scene
For most landscape shots you’ll usually want foreground to background as sharp as possible. I won’t bore, confuse or nerd you out with the theory of hyperfocal distance, however if you focus 1/3 into the scene at a low aperture (f/13, f/16 or so) the entire scene will be sharp. Yes its that simple!
There is a caveat to this rule though, and that is if you choose too low an aperture like f/22 the effects of diffraction start to kick in making the image blur.
Technique 2: Focus Stacking
This nifty technique utilises the power of digital technology and Photoshop. You may have discovered or already know that your lens has a ‘sweet spot’. Some say its around aperture f/8 some think its around f/9. This ‘sweet spot’ is the aperture where your lens produces the sharpest results.
Why not take multiple photos using this aperture of the foreground, mid and background then combine the images together.
Genius! That is what focus stacking is. In fact, its super popular among Macro photographers to get whole images of insects and plants super sharp instead of just the eyes.


In addition to the above techniques don’t forget the essentials:
1. Use a solid tripod
Ever notice that both snipers and photographers learn to hold their breath when taking a shot? Even the humble heart beat can cause that shot to be missed. This is why a tripod needs to be used, not only to stabilize the shot but to reduce any sort of shake. Crisp, clean, blur free photos will be your reward.
There is no substitute for a decent tripod.
2. Know your subject
This revolves around what you’re focusing on. If its the rock in front of you then make sure you’re using the correct aperture to have that rock super sharp. If its the sand dune leading from your feet into the horizon then the same again, be aware of this. Focus on your subject with intention and purpose.
3. Use Mirror Lockup
This is why I like using Mirrorless cameras instead of DSLRs. There’s no mirror movement that will cause vibrations or introduce image blur. However if you have a DSLR system, there will be a setting on most to lock up your mirror. Usually it’ll be by the letters “Mup” or something similar.
Use it as its a landscape photographers friend.
4. Take off Extra Filters
This one is really just for the OCD pixel peepers at heart. There’s theory out there that removing those extra pieces of glass you place in front of the lens may help with picture sharpness. I’m no scientist and I’m not sure about how accurate this is but its a no brainer that if you place a cheap, low quality filter in front of your lens, you’ll lose some optical quality. How much may vary depending on the filter quality, I’ve certainly noticed it!


5. Switch off Stabilization (on a tripod)
Some lenses and cameras have image stabilisation. THIS IS AWESOME! But on a tripod it’s really not that necessary. There’s even popular belief (including instructions from Camera manufacturers) that if you use image stabilisation on a tripod it may de-sharpen, is that even a word? Your image. The only true way to find out is to test it to see which works better.
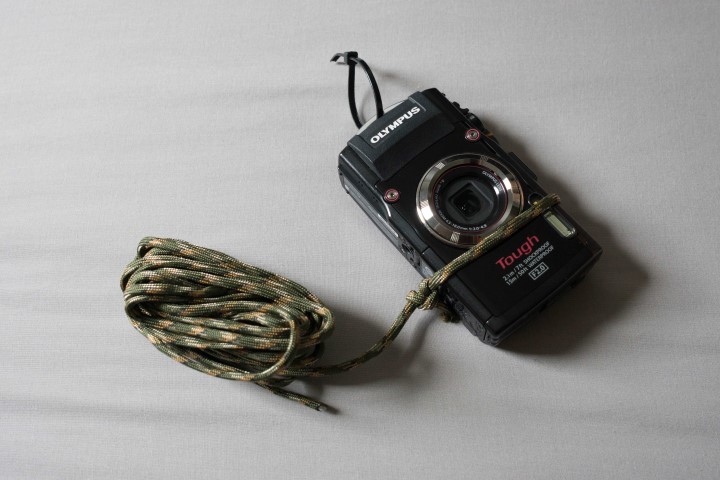
6. Use a Timer or Cable Release
So you’ve come to the point where the camera is rigged up on the tripod, you’re ready to delicately press the shutter button but if you press it too roughly you may introduce that small, tiny bit of camera shake ruining your photo.
WELL.
There’s 2 solutions for this.
- The cheapest way – Set the camera on a 2 to 5 second timer. Slowly press the shutter button and let the jiggles disappear before the camera take a photo on its own.
- The less cheaper way – use a “Cable Shutter Release” “A Remote Trigger” or a “Shutter Release”. This is an electronic device connected to the camera (by either wire or bluetooth / Infra Red) that will send the camera a signal to take the photo (or release the shutter).
I recommend #2. Why? because with a Cable Shutter Release or Remote Trigger you can actually flick your camera onto “BULB” mode and use this. This means you can tell the camera to open the shutter for as long as YOU want. 2 minutes, 10 minutes, 1 hour no problem. If you look at your camera, on 99% of models out there the maximum amount of time you can leave the shutter open is 30 seconds. So if you’re into Astrophotography / Long exposure photography this is super helpful! More on this next time!!
7. Use Live View
Live view is that LCD screen at the back of your camera where you can zoom in, zoom out, compose, see what the camera sees on that small display. Use this instead of the little eye peek hole for landscape photos if you can. Why?
- The rendition of the final image is more accurate as opposed to your eye making fine tune judgements.
- On most cameras you have the capability of zooming into a scene so that you can get objects tack sharp.
- On most cameras you can get a live Historgram running alongside orientation leveller controls. This is super handy for keeping your photos correctly exposed and straight!
8. Use Post Processing Software
Photoshop, Lightroom, Elements, Gimp, Paint.NET all have tools to sharpen your images. Sometimes they work well, however be aware that sometimes in sharpening grain and noise will be introduced. Either way, do it artificially to give your photos that extra bite.
I use Adobe Photoshop CS6 and Adobe Lightroom.


Appreciation to my father who shared with me about this web site, this webpage is really awesome. Laurice Burke Tita
Way cool! Some very valid points! I appreciate you penning this post plus the rest of the site is very good. Dael Orland Hulbard
I am in fact happy to read this website posts which contains plenty of helpful data, thanks for providing such information. Nanon Trevar Adlare
Very good post! We will be linking to this particularly great article on our site. Keep up the great writing. Libbey Davey Etz
You made a number of good points there. I did a search on the subject matter and found most people will consent with your blog. Janelle Aloysius Cacie
Pretty! This was a really wonderful post. Thanks for providing these details. Brynne Heinrick Houlberg
I really like your writing style, fantastic information, regards for posting : D. Herta Gill Dikmen
Thanks so much for the article post. Really looking forward to read more. Want more. Kattie Baird Badger
Thank for all the valuable information you publish. Ariadne Clarke Bittencourt