Free Photoshop Actions for Advanced Photo Editing
There are many situations where we may want to retouch the dark or light areas of our photos. In doing this we may only want to affect these specific areas leaving the rest of the photo alone. Take these photos for example
Desired outcome
In this photo on the right, I want to darken the shadow areas to give the photo more ‘pop’ by adding that depth. I also want to remove the orange colour cast in only the mountain area without touching the sky and I want these effects to appear natural.

Desired outcome
I want to combine the lighter parts of the left photo with the darker looking sky and water of the right photo. I want to do this to expand out the colour range that I would normally get with one photo, but I don’t want to use standard HDR processing as I don’t like the artificial look that it gives. I also don’t want to just drop in a gradient or manually mask as it won’t blend these 2 photos smoothly.


What’s the Solution?
By using the free Lenny K Actions Toolkit for Photoshop or Photoshop Elements in a technique called luminosity masking.
Without going all technical, luminosity masking allows us to get Photoshop Elements to automatically select these light or dark areas of the photo so that we can make smooth controlled changes to these selected areas.
The toolkit will automatically select these light or dark areas in our photo.
We can then use the standard Photoshop tools to blend these selected areas.
You can download a free copy of The Lenny K Actions Toolkit for Photoshop or Photoshop Elements from my store.
Use this toolkit for:
Advanced image editing
Luminosity masking & digital blending
- Creating Orton effect
- Creating dodge / burn layer
- Creating autumn colours
So those photos what do they look like now?
Below is the mountain image after using the toolkit to apply a cyan color filter to just the mountain area. I’ve also lightened up some parts of the treetops and darkened parts of the mountain terrain to add photo depth.
Although these changes are subtle taking no more than 10 minutes, we can see that the difference is huge. The edited mountain landscape image has more depth, more color contrast and is more appealing than the before photo.
Underneath the mountain image is the result of blending the 2 jetty images together. The lighter parts of one picture was combined with the darker parts of the other resulting in increased dynamic range and intensities in the sky. I’ve also used the dodge burn action to make the jetty section pop out of this picture more.

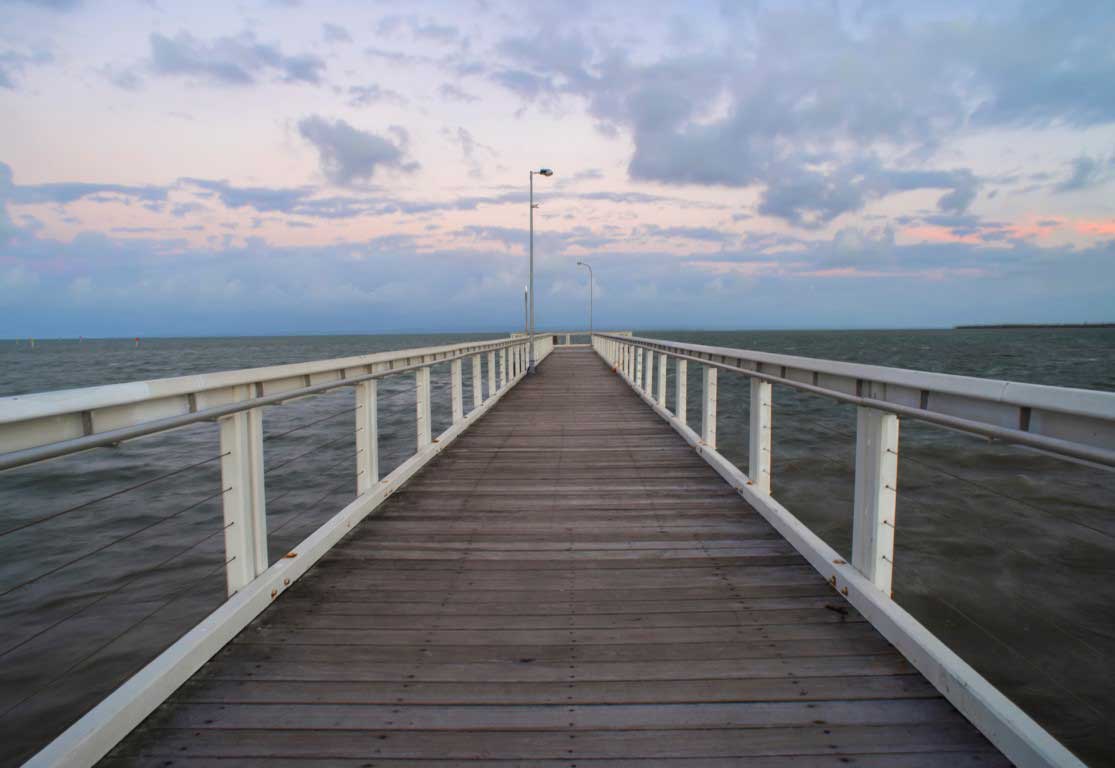
As we can see in the combined picture, there is no artificial feel to this image and it is overall quite natural and pleasing to the eye.
What else can this toolkit do?
I’ve thrown in a couple of extra features such as the ability to pop out a layer that has an Autumn looking feel to it, a layer where dodge/burn adjustments can be easily made and the ability to create a layer that has the Orton Effect, all in a simple click of a button. Again these layers can be used with the automatic selections made by this toolkit so that it can be applied selectively to chosen areas of the photo.
In my Photoshop Actions video link you will find how I use this toolkit plus and a couple of other tips and tricks I use for image editing.
If you have any feedback about this toolkit, ideas on how it can be improved, or problems using this toolkit feel free to drop me a message.
Thanks so much for taking the time to read this page, if using this toolkit has helped you out feel free to share the love by letting your friends know about using the buttons below, over and out!