15 Rules of Landscape Photography
2nd February 2017
For you photogs out there who love to create those luscious landscape scenes here’s a list of my top 15 Landscape photography tips that will save your behind when the time comes to knuckle down to getting those images picture perfect.

1. Plan out the location on a map.
Never travel out to shoot without a good map and without knowing your location. Topographic maps of the terrain are worth their weight in gold as is Google Maps (satellite view) in giving you a taste of what the land form will look like prior to you reaching that location. The journey and photos can be twice as rewarding when you discover that serene location, that you’ve found, that you’ve discovered, that you’ve put the hard yards in to get there. Let’s face it landscape photography and hiking go hand in hand we’re out there to capture the beauty of the undiscovered, untarnished and unforgettable.
2. Position, Position, Position.
We all know as a general rule that the sun rises in the East and sets in the West. Learn to be proficient at navigation, or if you want things to be easier download The Photographer’s Ephemeris App and have discipline. A true landscape photographer will wake up before sunrise and leave after sunset so that they can capture the beauty of the landscape in its soft, silky, form where the colours of the sky become its most graceful and vibrant. Know where you need to be, what direction you need to face and 90% of the time if it doesn’t rain your hard work will be rewarded with a glorious scene.

3. Get off your butt, don’t be lazy.
Don’t sit in the car waiting for that beautiful scene to come by you. The truth is that it’ll never happen. Like a wet cloth a picture perfect scene is one you need to actively hunt for, grasp it by the crook of the neck and dominate the composition on all ways possible. If you’re photographing a mountain you may need to climb up to shoot that grand top down view or you may need trek to its base to photograph the gigantic majesty of it. If you’re 1km from the lake’s edge you may need to walk that 1km to get to see that water reflection of the distant mountain or sit there on a 2 minute shutter speed to get that water blanket smooth. The point of this rule is to have discipline and do what other’s won’t.
4. Recon, like a boss.
This rule is about scouting out your location, walking around and conduct recon to discover the best possible place to setup for the best composition. You may need to wade through swamp, be knee deep in water or hike up a mountain to setup for that perfect photo. Conduct your recon like an army sniper and when you find that eye-catching composition, the world’s beauty will be at your fingertips.
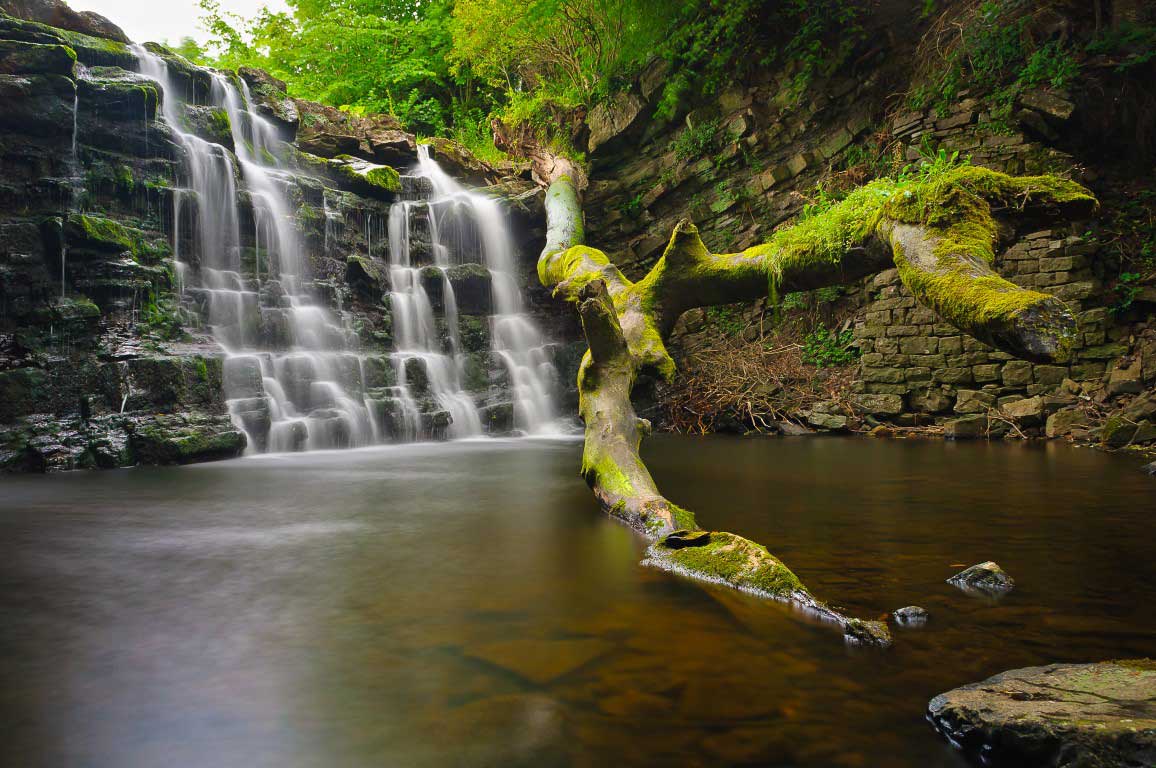
5. Use a Tripod.
As a landscape photographer you’ll find your optimal shooting times before, during and after sunrise and sunset. During these times to get those crisp, noise-free images you’ll need to shoot on a tripod so that you can drop down the ISO as low as it can go. If you’re not a huge filter geek, like me, you’ll probably end up bracketing shots and blending them together to create an image with a well balanced sky and decent foreground. In doing this you’ll need to overlay your images in Photoshop and for this a tripod is a must. So use a tripod, your images will also be significantly sharper subject to the weather Gods and shoot on either a timer or with a remote trigger.


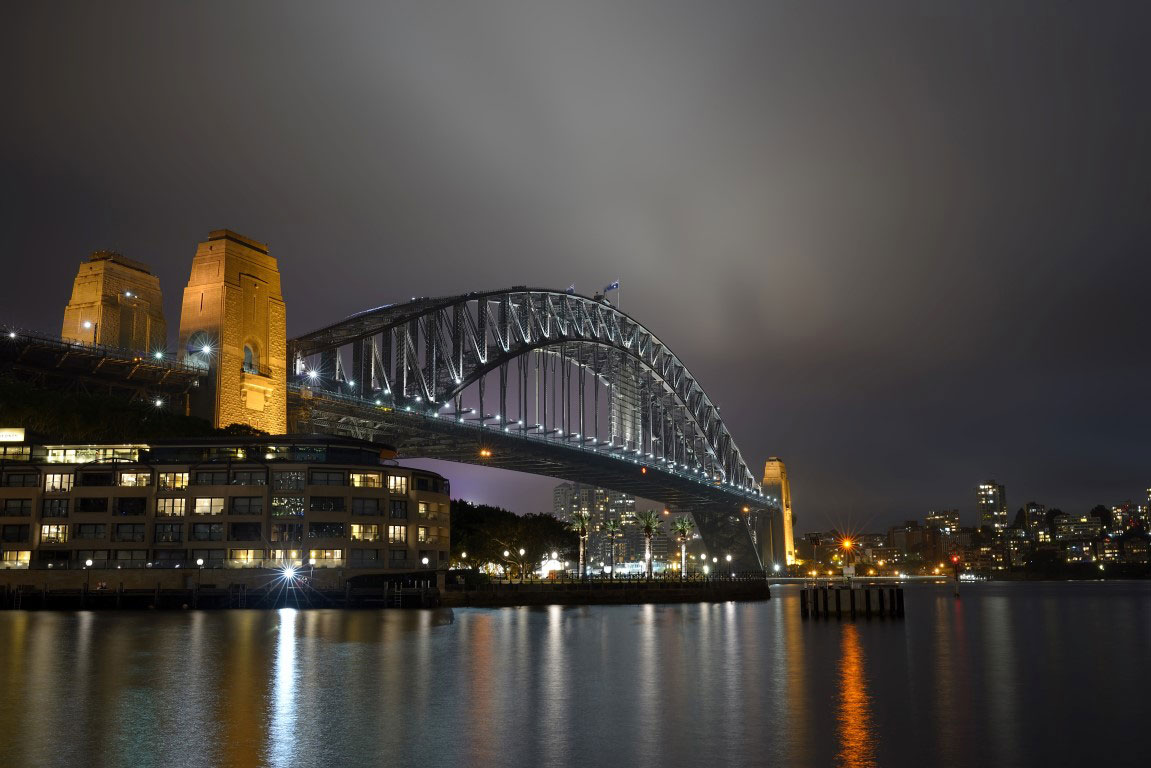
6. The Golden hours are your best friend.
This rule leads on from the last rule, to shoot during the ‘golden hours’. These hours are typically 1 hour before and after sunrise and 1 hour before and after sunset. This is your window of opportunity to create those award winning images. During these hours the skies will explode with vibrant pink, orange, magenta, reds, navy blue and ink blue colours. These colours can swing the mood of your photo giving it that knock out power to dethrone your viewers off their feet.

7. Shoot RAW.
No doubt you’ve noticed that photographer wearing that ‘I Shoot RAW’ t-shirt and although some may scratch their heads there a reason for shooting raw. Shooting raw allows one to pull back the details from the shadows and highlights that would ordinarily be lost in the standard and popular jpeg format. This helps you out as when you’re trying to recover the blacks from the shadows as the camera sensor has exposed for the light, you’ll be able to pull alot of detail and even on some occasions resurrect a large chunk of the dynamic range back from your photo in post processing.
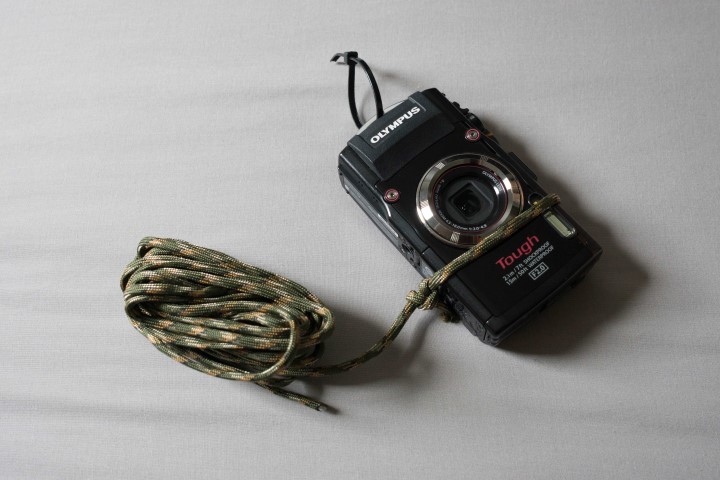
8. Do your best with what you have.
Sometimes when trekking out to photograph the wilderness to save weight you’re not always going to have your best lenses, best camera body and best filters by your side. As this tip recommends do the best with what you have. You may even need to improvise using rocks as platforms, sticks as stabilizers and tying rope to getting that camera rock steady.
9. Max out depth of field.
Depending on your creative application, in 80% of your landscape shots you’ll want to get everything from the forground to the background tack sharp. This is usually done by setting a high aperture in camera. CAUTION. Setting the smallest aperture (highest f-stop number) will usually cause an effect of diffraction to occur, which will blur your image. So to get the sharpest possible image, 1 of 2 things can be done;
- ‘Image stacking’ or taking a couple of shots where the focus point with the sharpest aperture for your lens (usually f/8 dependant on lens) is placed on the foreground then shot, then the focus point is moved onto the background and this shot again. Blend these images together in Photoshop and you’ll have a crisp foreground to background image.
- Choose an aperture like f/11, f/13 or f/16, focus 1/3 into the scene and take the shot. Check sharpness by zooming into the foreground and background of the image and drop the aperture if it’s not sharp enough.
I prefer #2 as its a more economical and practical method.


10. Get a wide angle lens.
Having and using a wide angle lens is half the battle in creating a wide, sweeping, dramatic landscape. Look for leading lines, shoot close to the ground, to nearby objects, find patterns and different perspectives to accentuate the effect of your photo. More often or not we’ll look at a wide angle shot and think, “that’s nice”. To go from a “that’s nice” to a “that’s awesome!”, the viewer will need to feel the 3d-ness and depth of your photo. They will need be convinced that the 2d media that they’re viewing your photo on is actually sucking them into the landscape itself and this is the technical, creative and skillful aspect to having a wide angle lens.
11. Take your telephoto lens along.
Don’t forget about your telephoto lens too. Although the consensus is that wide angle lenses are mostly used for landscape photography, the advantage of a telephoto lens is that it allows you to compress the scene. This is super useful for landscapes like mountains where you may want to squeeze the perspective of the mountain to show off its Godlike qualities and grandeur.

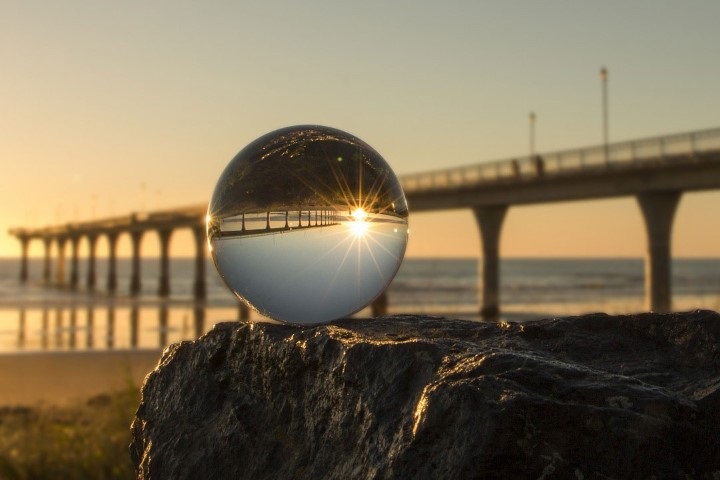
12. Solitary objects.
A single tree, a stone stack, a bench, a chair, a tent and any other solo object that pops to mind can be included in the frame to add interest to your image. Usually these objects will be placed somewhere in the mid to foreground. Keep those spider senses tingling and take note of these solitary gems as they appear.
13. People.
Sometimes we get lost in the tranquillity and beauty of a landscape that we fail to consider including the people into the scene as well. So why should we include people? The answer is simple. To give the photo a feeling of perspective. When we hold up a coin to our eye so that it covers the sun, we feel that the coin is as big as the sun. In a similar fashion when we observe a person walking in a vast landscape we come to appreciate how massive that landscape really is. We’re hardwired to find this interesting.
")

14. Check the histogram.
If not bracketing for multiple shots and taking multiple exposures, learn how to read your camera’s histogram and analyse it after every shot. Ideally you don’t want to blow out the highlights as they’re much harder to recover in post processing than the shadows. Let the histogram guide you in addition to the picture you see on the camera’s playback function. Check that you’re happy with both the exposure and composition.
15. Composition is the golden key.
I’ve left the most important part to the end, composition. A stunning composition will attract viewers to your photos like bees to honey, like ants to dropped food and like women to Brad Pitt. If you got nothing else, work hard on the rule of thirds where you pretend your frame has an imaginary tic-tac-toe board laid over it. Put the interesting parts of the scene on where the lines would interest on this board and this will definitely spice up the end result of your photos making them look much more appealing. Also don’t be afraid to try new compositions.

Leave A Comment
You must be logged in to post a comment.